Vibe Coding Your MVP: Best Practices for SaaS Founders

Not so long ago if you were a non-technical founder with a great idea for a SaaS product, your path was evident: find a technical co-founder, raise a pile of money, or spend months learning to code yourself. The barrier to entry wasn't just high; it was a fortress wall.
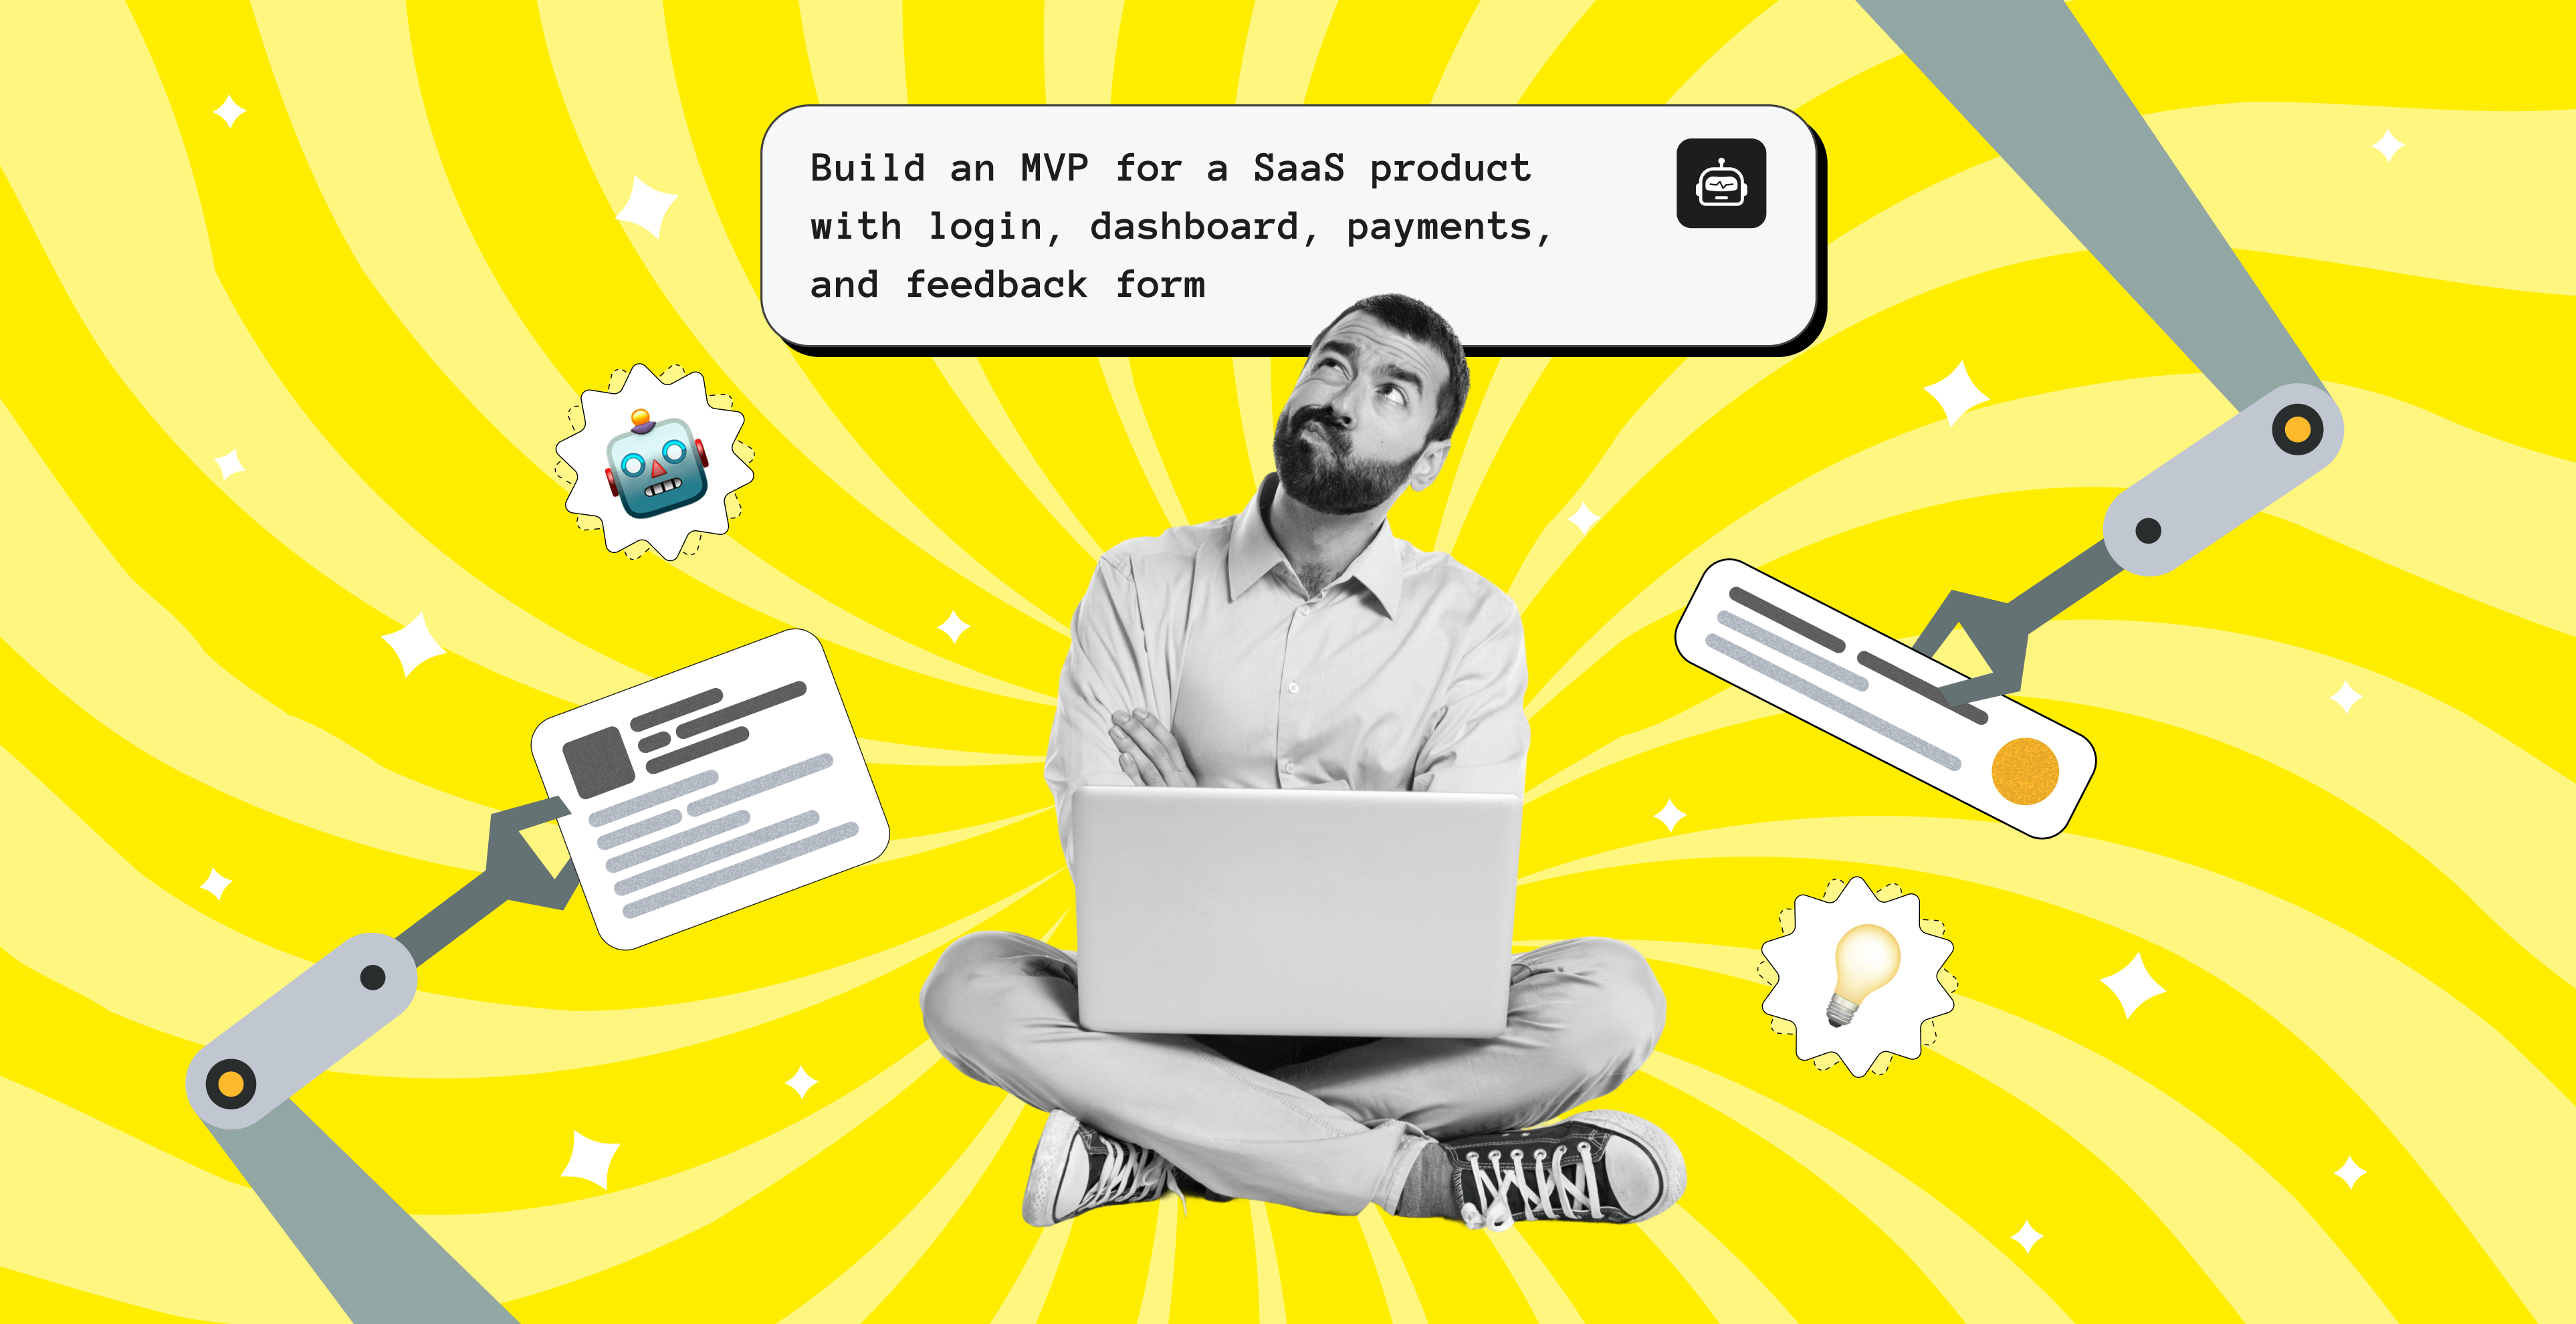
Then, everything changed. Welcome to the era of vibe coding, which isn't a mystical process, but a new, practical way to build software. Vibe coding is the art and science of using generative AI tools, large language models like ChatGPT, Claude, and specialized platforms, to turn your natural language prompts, and ideas into functional code and user interfaces. That’s the secret to vibe coding your MVP: making it faster, cheaper, and more accessible than ever.
For SaaS founders, this is the ballgame. You can move from a proof of concept to MVP in days instead of months, iterate faster, and test ideas before investing heavily in development. You become the product architect, guiding AI to handle the execution while you focus on vision and strategy. The playing field has finally leveled.
But vibe coding isn’t magic. You can’t just tell an AI to “build the next Salesforce” and expect a billion-dollar company to appear. It’s a partnership between your insight and the AI’s capabilities. The better you structure your ideas, prompts, and iterations, the better your results.
This guide will walk you through the step-by-step process of vibe coding SaaS products. We'll cover everything from defining your vision to choosing your tools, building your UI, and launching your app. This is your playbook for turning a vibe into a viable product.
Key Takeaways
- Vibe coding is a process, not magic. It's about guiding an AI with iterative prompts, not giving a single command.
- Vision is non-negotiable. A clear Problem Statement and Product Requirements Document are more important, not less, when working with AI.
- Your stack matters. Choose guided development tools (like Lovable or Bolt.new) over one-shot generators for building a real application.
- Be a good describer. You don't need to be a designer, but you need to describe exactly what you want, using references to other apps and clear language.
- Break it down. Never ask an AI to build a "feature." Ask it to build the smallest possible part of that feature, then the next part, and so on.
- Git is your safety net. There are many AI challenges and mistakes you will face during the process. Using GitHub to save your progress is the most important of all vibe coding best practices.
Vibe Code Your MVP in 7 Steps
MVP vibe coding is all about building the simplest, fastest version of your idea with a relaxed, creative flow. Instead of stressing over perfect architecture or long-term scaling, you focus on getting the core experience working, the part that actually proves your idea has value. It’s quick, scrappy, and intuitive: you prototype, feel the energy of the product, and keep moving without overthinking every detail. The goal is momentum, not perfection.
It also leans into a playful, low-pressure mindset where you’re free to experiment, try stuff, toss whatever doesn’t work, and keep the pieces that feel right. Instead of forcing the product into a rigid plan, you let it take shape naturally. You ship something small, real, and actually usable as fast as possible, then keep refining it once you see how people respond.
We’ve put together a simple 7-step plan to help you build your MVP using vibe coding tools. You'll find real example prompts and battle-tested vibe coding tips from our engineering team to kickstart your conversations with AI, even if you’ve never written a line of code. Follow these steps to go from zero to a testable prototype (or even the first version of your product!) that you can actually show and improve, all in just a few days.
Ready to build something amazing? Let's dive in!
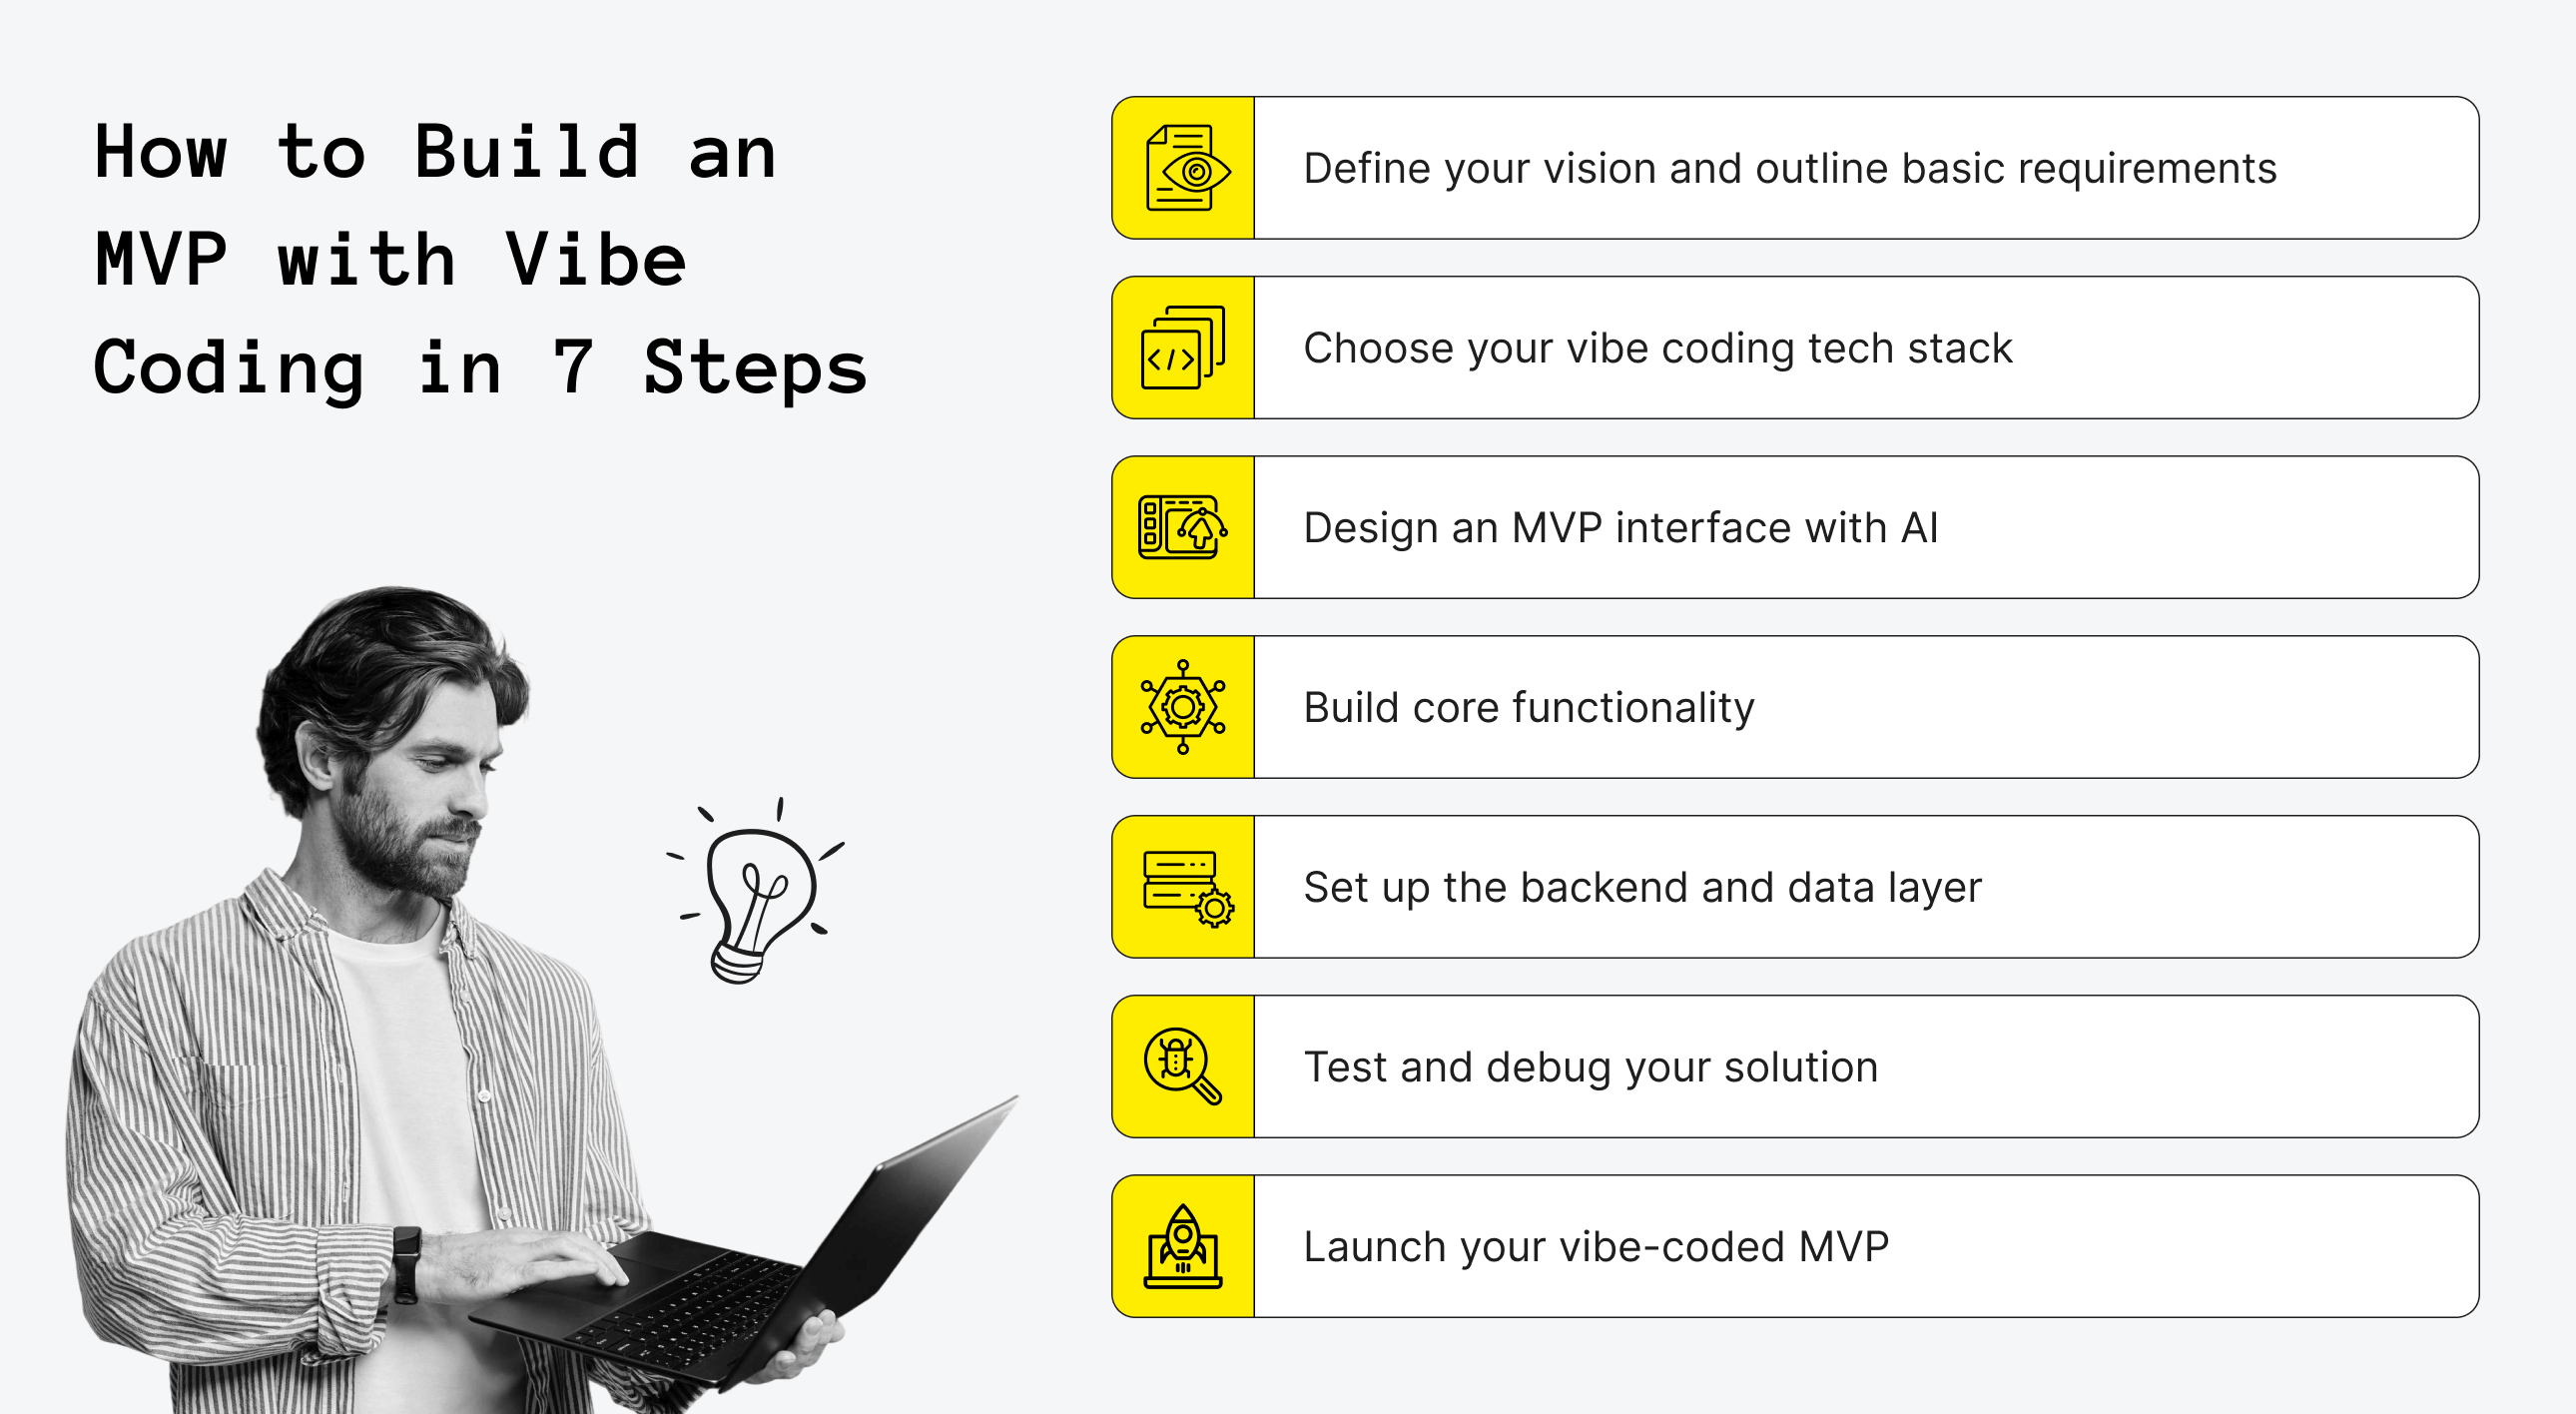
Step 1: Define Your Vision and Outline Basic Requirements
Before you write your first prompt, you need to know what you are building and why. If you are vague with yourself, the AI will be 100 times vaguer with its output. This is the foundation of your vibe-coded MVP.
Create a Basic Description
Start with a north star. It's a simple and clear paragraph that you can feed to the AI to set the context for almost any request. It should include:
- App's purpose: What does it do?
- Target users: Who is it for?
- Core features: What are the 1-3 most important things it must do?
Prompt Example
Outline a Problem Statement
Why does your app need to exist? A clear problem statement guides all your feature decisions. A great format to follow is Context -> Problem -> Impact -> Ideal Outcome.
Let's borrow an example framework, similar to one you might see from a team at Figma:
- Context: Freelance writers work on multiple projects and face constant digital distractions.
- Problem: Existing productivity tools are overly complex, bloated with features (like project management or team collaboration) that solo writers don't need. That is why they just use a basic phone timer.
- Impact: This means they can't easily track their focus sessions or tie them to specific tasks. Their time is wasted, and they lack focus.
- Ideal outcome: A browser-based tool that provides a clean Pomodoro timer alongside a session-specific task list to help writers stay on track right in their workspace.
Draft a Simple Product Requirements Document [PRD]
This sounds formal and boring, but it's your secret weapon for MVP vibe coding. A PRD is a document that lists what you're building. For the AI, this is the instruction manual. When it gets confused (and it will), you can re-paste parts of your PRD to get it back on track.
You don't even have to write it yourself. You can ask the AI to do it.
Make the PRD Your First Vibe Task
Your first major interaction with the AI shouldn't be "write code." It should be, "Help me think." Use the AI as a product manager. Feed it your basic description and your problem statement, and ask it to generate a PRD. This will force you to organize your thoughts and give you a powerful artifact to use throughout the build.
Prompt Example
You can find more prompt examples on Founder Institute and Siddharthbharath.
You’ll end up with a handy document you can reuse whenever you ask AI for help, so you won’t have to keep explaining your product from scratch every time you make progress on your MVP.

Step 2: Choose Your Vibe Coding Tech Stack
Your tech stack is the set of tools you'll use to build, save, and launch your MVP. You need them because you can't vibe into the air. These tools will listen to your vision.
One-Shot Generation vs. Guided Development
When it comes to vibe coding your MVP, there are two main types of platforms:
1. One-shot generation tools work by letting you write a big prompt that explains everything your app should do, and then the AI tries to generate all your code in one go. This can feel amazing because it looks like your app just appears instantly. But it often struggles with bigger or more complex projects: the code gets messy and tough to fix, and things break easily. One-shot tools are best if you just need something quick and simple, like a small script or basic feature.
2. Guided development platforms are what you want. These tools (like Lovable or Bolt.new) are conversational. They are AI assistants designed for building web apps. You work with them step-by-step. You say, "Create a landing page," then you review it. Then, "Add a login button," and you review it. This iterative loop — prompt, generate, test, refine — is the key.
Your Full Toolbox
Beyond the main platform, you'll need a few other things. Here's a great example stack that most vibe coders use:
- AI Assistant (aka Pair Programmer) is your main chat buddy. Claude 4 Opus or ChatGPT (GPT-5) are the current champions. You'll ask them questions, have them write functions, debug errors, etc.
- VS Code (code editor). This is where your code will live. It's free, and it's the industry standard. Even if you're not writing the code, you'll be copy-pasting it into VS Code.
- GitHub Copilot lives inside VS Code. It's an AI that auto-suggests code as you (or the other AI) type. It's amazing for fixing small syntax errors.
- Git & GitHub are maybe the most important tools for version control.
So, Master Git and GitHub
This is a non-negotiable vibe coding tip because AI will confidently write code that breaks your application.
- Git is a system that lets you take snapshots (called commits) of your code.
- GitHub is a website where you store these snapshots.
Your workflow will be:
- Have a working version of your app.
- Save it to GitHub (make a commit).
- Ask the AI to add a new, complex feature.
- The AI adds the feature... and breaks three old ones.
- Instead of panicking, you tell Git: "Go back to the last snapshot."
- You're instantly back to your working version. No harm, no foul.
The real power of vibe coding techniques lies in using these tools together. Don't rely on just one.
- Use ChatGPT to write your PRD.
- Feed that PRD to Bolt.new or Lovable to generate the initial application scaffolding.
- Open the code in VS Code.
- Ask Claude to write a specific backend function for you.
- Paste that function into VS Code and use GitHub Copilot to clean up the syntax.
- Save your new, working version to GitHub.
This synergy makes your assembly line.


Step 3: Design Your MVP Interface with AI
Your app needs to look good. Or at least, look intentional. You don't need to be a designer, though. You just need to be a good art director. The AI is your designer, but it needs clear instructions from someone with vision.
From Vibe to Visuals
The key is to use very detailed, descriptive language because AI is very literal.
- Don't say: "Make a homepage."
- Do say: "Design a clean, minimalist landing page for a SaaS product. Use a professional color palette (dark blues and light grays). Add a strong hero section with a headline, a sub-headline, and a single call-to-action button that is bright orange."
You can use the UX Pilot plugin for Figma to make the first mockups. You don’t even have to explain the little things to this tool. Just ask it to keep the best MVP product design practices in mind while making your landing page.
Reference Apps You Know
This is the ultimate shortcut: AI has seen most of the internet. Use it.
- Don't say: "I want a user settings page."
- Do say: "Build a user profile page. For the layout, I want it to be similar to Stripe's dashboard: a left-hand navigation menu with links for 'Profile,' 'Billing,' and 'Security,' and a main content area on the right where the forms will go."
Use Pre-Built Components
Your AI doesn't need to reinvent the button, the table, or the modal popup. These are solved problems. You can tell your AI to use components from a library. A fantastic resource for this is 21st.dev, which is a community for AI-generated components. You can browse it for ideas and then ask your AI to build something similar.
Create a Design Vibe Snippet
This is one of the best tips for vibe coding. Create a small text file you can paste at the top of any design-related prompt to ensure consistency. Your Design Vibe snippet could look like this:
"Design Rules:
- Vibe: Minimal, professional, and clean.
- Framework: Use React and Tailwind CSS.
- Colors: Primary: #0A2540 (Deep Blue), Secondary: #F7F7F7 (Light Gray), Accent: #FF6A00 (Bright Orange).
- Fonts: Use Inter for all text.
- Buttons: Must have rounded corners (rounded-md) and a subtle shadow."
Now, you can just start your prompt with: “Using my Design Rules, please create a navigation bar…”
Prompt Example
Want a quality MVP right on your first try?
Upsilon's expert team can help plan, build, and scale your product!

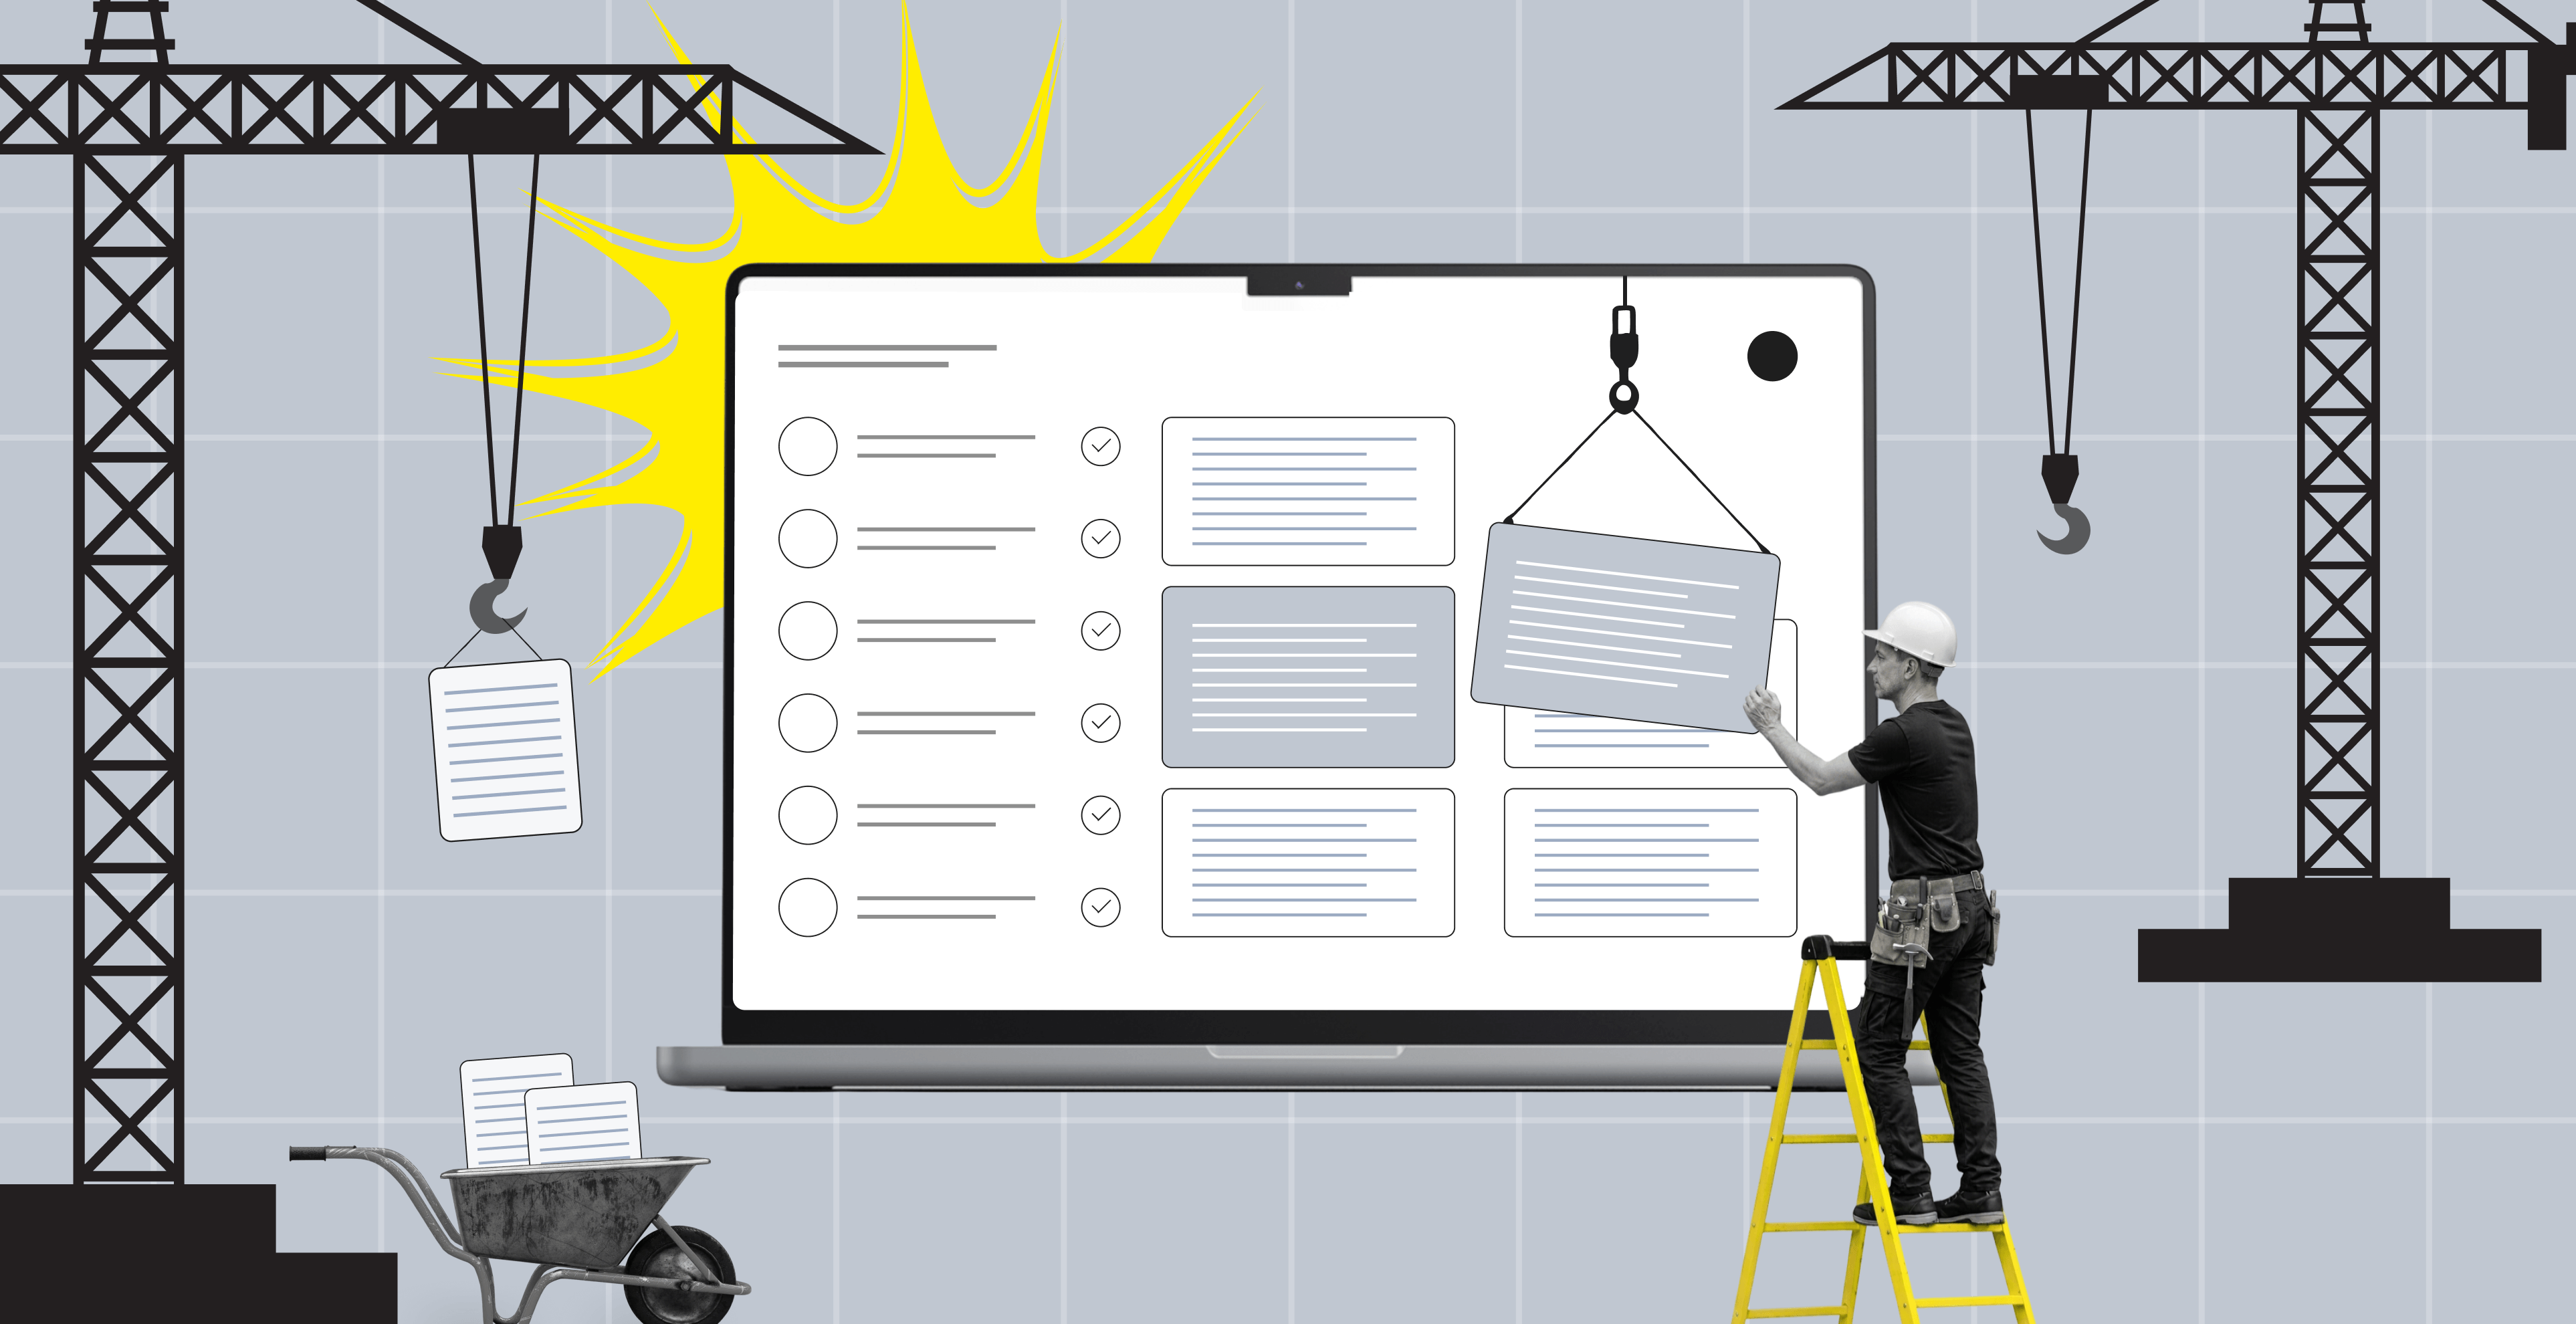
Step 4: Build Core Functionality
Okay, the app looks pretty. Now it's time to make the buttons actually do things. This is the heart of MVP vibe coding.
Golden Rule: Break It Down
This is the most critical advice, echoed by everyone from Siddharthbharath to users on Reddit. Never ask the AI to build a complex feature. You will get a complex, buggy, and confusing mess.
You must treat the AI like a very fast and very literal junior developer. Give it one small, specific task at a time.
- Bad prompt: "Build the user authentication system for my app"
- Good prompt (broken down):
- "First, let's create the sign-up form component. It needs email, password, and password confirmation fields." (You might have done this in the design step.)
- "Now, let's write the front-end logic for this form. When the user clicks Submit, it should check if the password and confirm password match. If not, show an error message."
- "Great. Now, if they do match, take the email and password and send them in a POST request to an API endpoint we will call /api/auth/signup."
- "Okay, let's create that backend API endpoint: /api/auth/signup. It should be a Node.js function."
- "Inside this function, first, check if a user with that email already exists in our database."
- "If not, hash the password using bcrypt."
- "Now, save the new user (with the hashed password) to our users table."
- "Finally, send back a 201 Created response."
See the difference? You are guiding the build, step by step. This vibe coding SaaS approach is manageable and debuggable.
Iteration Loop
As you build your MVP, you will live in this loop:
- Prompt: Give the AI one small task.
- Generate: Get the code snippet.
- Implement: Paste the code into your editor.
- Test: Run the app and see if it works.
- Refine: It will probably be broken. Copy the error message, paste it back to the AI, and say, "This broke. Here's the error. Fix it."
This loop is the job of vibe coding.
Provide Context in Every Prompt
The AI has no memory. It forgets what you talked about 10 prompts ago. You must constantly remind it of the context. Start your prompts by telling it what you're working on, what AI tech stack you're using, and what the goal is. This avoids generating code in Python when your project is in JavaScript.
Prompt Example
Step 5: Set up Your Backend and Data Layer
Your SaaS app also needs a brain — a place to store user data, process logic, and manage accounts. This is your backend and database.
For a vibe code MVP, you are not going to build this from scratch. That's the old way. The new way is to use a Backend-as-a-Service (BaaS).
Supabase
Supabase is the clear winner for most SaaS vibe coding projects. Why?
- It's just Postgres. A powerful, open-source database that everyone loves.
- Auth is solved. It gives you user sign-up, login, password resets, and social logins (like Login with Google) right out of the box.
- You get serverless functions. You can write your backend logic (like the API endpoints we just discussed) and deploy them on Supabase.
- It’s real-time. Want to build a chat app? Supabase can push database changes to your app instantly.
- It has great AI integration. Because it's so popular, AI models know it very well. You can ask "How do I do __ in Supabase?" and it will give you the exact code.
You don't vibe the database itself. You go to Supabase's website, click a few buttons to create your project and your tables, and then you use vibe coding to write the app-side functions that talk to Supabase.
Use AI to Design Your Database Schema
Don’t forget about this massive time-saver, though. Before you even go to Supabase, you can use your PRD to ask the AI to design the database for you (make a schema). A schema is just the plan for your tables and how they connect.
Prompt Example
Step 6: Test and Debug
Here's a fun fact: 90% of the code your AI writes will be wrong the first time. Sometimes it's a small syntax error. Sometimes it's a spectacular, how-did-you-even-think-of-that logical failure.
Your main job as a vibe coder is to become a vibe debugger and a champion of QA testing.
Debugging with AI Assistance
As the Lovable documentation points out, this is a loop. Don't get frustrated. See the error as the next step.
- Run the code: Open your app in the browser.
- Open the console: Right-click -> Inspect -> Console.
- Trigger the bug: Click the button that doesn't work.
- See the error: The console will turn red and give you an error message.
- Copy everything: Copy the full error message. It's gold.
- Paste and explain: Go to your AI and start a new prompt. Paste the error and the code that caused it.
Bolt.new also highlights that you can, and should, ask the AI to write tests for you. You can give it a function and say, "Please write a jest unit test for this function to make sure it handles all edge cases."
Be the Patient, Not the Doctor
Don't try to guess the problem. Just describe the symptoms.
- Bad: "My code is broken, I think the state isn't updating."
- Good: "I'm getting this exact error: TypeError: tasks.map is not a function. It happens in my TaskList component. I expected tasks to be an array, but it seems to be undefined. Here is the code for the TaskList component and the component that passes it the tasks prop. Please find the bug."
Prompt Example
Step 7: Launch Your Vibe-Coded MVP
You have a thing! It works (mostly)! It's time to release it to the world. This part, thankfully, is not hard. We are launching, monitoring, and preparing to optimize.
Deployment Made Easy
Good news: deploying is a solved problem, too. Forget about servers and IP addresses.
- Push to GitHub: Make sure your working code is saved to GitHub.
- Use Vercel or Netlify: These are free (to start) hosting platforms.
- Connect: You'll sign up for Vercel, click New Project, and select your GitHub repository.
Vercel (which is made by the same people as Next.js) will automatically detect your stack, build your app, and deploy it to a live URL. Even better, every time you push a new commit to GitHub, Vercel will automatically redeploy your app. This is continuous deployment, and you get it for free.
Monitor Your App
Your app is live. Is it working? You need to know when it breaks for a real user.
- Add a tool like Sentry. It's free for developers. If your app crashes in a user's browser, Sentry will email you the exact error. You can ask your AI, "How do I add Sentry to my Next.js app?" and it will give you the 5-minute setup guide.
- Add a simple, privacy-friendly analytics tool like Plausible or Fathom to see how many people are visiting your site, what they do, and whether they are able to achieve their goals.
Optimize Performance
Your first vibe-coded MVP will probably be a bit slow. That's fine. The AI can help you fix it. Once you have users, you can find the bottlenecks and ask the AI to refactor them.
Launch Before You Are Ready
The V in MVP stands for Viable. Not Perfect, Finished, or Polished. The point of vibe coding MVP is to be fast. Launch it when it does the one main thing it's supposed to do. Get it in front of 10 real users. Their feedback (e.g., "It's too slow," "This button is confusing," "I wish it did X") is 1000x more valuable than you spending another week perfecting it in a vacuum.
Prompt Example


Vibe Coding Best Practices and Techniques
We've covered the A-to-Z process. Now, let's summarize the rules of the road. These are the vibe coding best practices and advanced vibe coding techniques that separate the rookies from the pros.
Best Practices
- Be hyper-specific. Vague prompts get vague, buggy code. Your prompt is your specification. Include the what, why, and how (e.g., "using React and Supabase").
- Iterate, don't dictate. Build in tiny pieces. Write a component. Test it. Write the function for it. Test it. This is the way.
- Maintain context. Don't assume the AI remembers your tech stack. Start new chats for new features and give it the context (your Design Vibe or PRD snippet) every time.
- Use version control (Git). I've said it three times because it's that important. Commit often. Commit every time you get even the smallest feature working.
- Trust, but verify. Always read the code. Don't blindly copy and paste. Try to understand what it's doing. This is how you'll learn and how you'll spot 90% of the bugs before they happen.
- Keep chats organized. Don't try to build the whole app in one giant, 400-message chat thread. Start a new chat for Feature: User Auth, another for Debug: Homepage CSS, etc.
Advanced Techniques
There are also a few words about how to optimize your vibe coding when you’ve already achieved some milestones with it.
Prompt Chaining
Use the output of one prompt as the input for the next.
Prompt 1:
Prompt 2:
Prompt 3:
Persona-Based Prompting
Tell the AI who it is. Practice shows that it improves the quality of the output.
Full-File Refactoring
Once you're more comfortable, go beyond pasting snippets. Paste your entire file (e.g., ProfilePage.js) and give it instructions.
Thus, you give the AI full context.
System Prompts
Many AI tools let you set a System Prompt or Custom Instruction. Use this to set your ground rules for every conversation.
Need a hand with your MVP?
Upsilon can help you plan and develop an MVP that'll grow to be a success!
Conclusion: Your Vibe is Now a Viable Product
So, let's zoom out. Vibe coding is a practical playbook that shatters the old barriers for SaaS founders. You no longer have to wait for a technical co-founder or a huge seed round to see your idea in action. Your biggest asset is now your vision and your ability to be a great vibe director.
As we've covered, this isn't magic. It's a process. It requires you to be hyper-specific with your vision, break down complex features into manageable prompts, and use Git like your life depends on it (because your app's life does).
But let’s be real: vibe coding gives founders tons of new ways to test and build MVPs, but those first few runs can be bumpy. Getting a little help from engineers who’ve been there can mean the difference between a cool idea that fizzles out and one that comes to life.
That’s exactly why Upsilon teams up with startups. If you’re interested in our vibe coding services or just want to brainstorm your next move, reach out and let’s build something great together.
FAQ
1. What is vibe coding, and how does it work for building MVPs?
Vibe coding is a development process where you use natural language prompts to instruct AI tools to generate code, UI, and application logic. It works for building MVPs by shortening the development cycle. Instead of focusing on how to write the code (syntax), you focus on what the app should do (features).
As a founder, you can test vibe coding ideas and get a functional product to market much faster and cheaper.
2. How can I use vibe coding to build a SaaS product?
You use it by following a structured, step-by-step process like the one in this article. The key is not to treat it like a magic wand.
- Define: Start with a crystal-clear vision, problem statement, and PRD.
- Stack: Choose a modern, AI-friendly stack (e.g., Next.js, Supabase, Vercel).
- Iterate: Build the app piece by piece, guiding the AI with specific, small prompts (e.g., "create this button", "write this one function").
- Test: Use the AI to help you debug by feeding it error messages.
- Launch: Deploy your app and iterate based on real user feedback.
3. What are the best vibe coding tools for SaaS MVPs?
The best vibe code SaaS stack is a combination of tools:
- AI assistants: Claude 4 Opus, ChatGPT (GPT-5), and GitHub Copilot.
- Guided development platforms:Lovable or Bolt.new are designed for this conversational building process.
- Backend:Supabase is the clear favorite. Firebase is another solid option.
- Deployment:Vercel and Netlify for near-instant, Git-based deployment.
- Version Control:Git and GitHub are non-negotiable.
4. What are the key best practices for vibe coding MVPs?
The most important vibe coding best practices are:
- Start with a PRD.A clear plan is your most valuable asset.
- Break it down.Give the AI tiny, manageable tasks. Never "build a feature."
- Use Git.Save your work constantly with commits so you can undo AI mistakes.
- Be specific.Your prompt quality determines your code quality. Include tech stack, context, and a clear goal in every prompt.
- Use the debugging loop.Copy the error, copy the code, and paste them both into the AI. This is the core workflow.


to top
-2.png)